Make A Baby Mobile

There are two ways to hang a
mobile, hang from a bent rod
attached to the crib or other
furniture or hang from the
ceiling.
This mobile was going to be the
first but with the size of it and
the fact that it was my first
mobile I didn't want to trust a
child's safety to my engineering
skills.
So I went with the second, a hanging mobile and
bought a ceiling hook for the 'handyman" to put it
up with.
~~~~~~~~~~~~~~~~~~~~~~~~~~~~
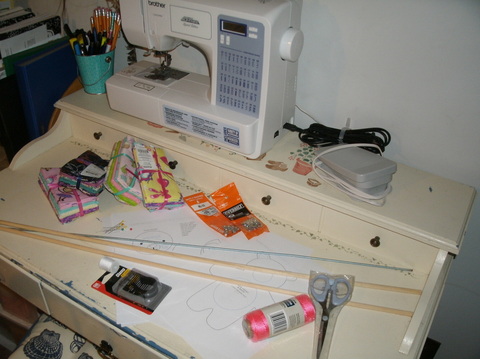
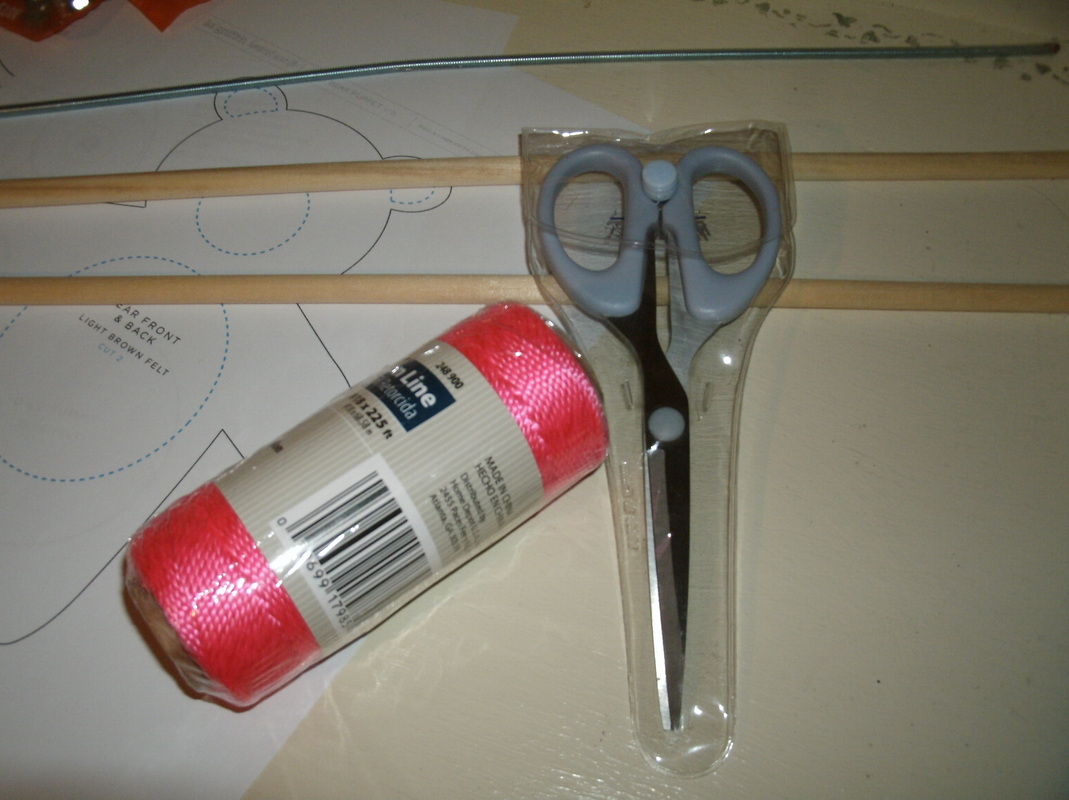
What you'll need:
1. an assortment of
quilting fats
2. wood dowels
3. sewing machine
4. thread, scissors
and a lighter
5. attractive cording or rope
6. patterns for the danglers
If you're making the kind attaching to furniture then you'll also
need:
7. threaded metal rod
8. clamp
9. at least 4 nuts and washers that fit the rod.
10. stuffing to wrap the rod for safety as well as to fill the
danglers.
~~~~~~~~~~~~~~~~~~~~~~~~~~~~
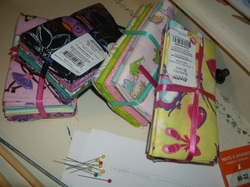
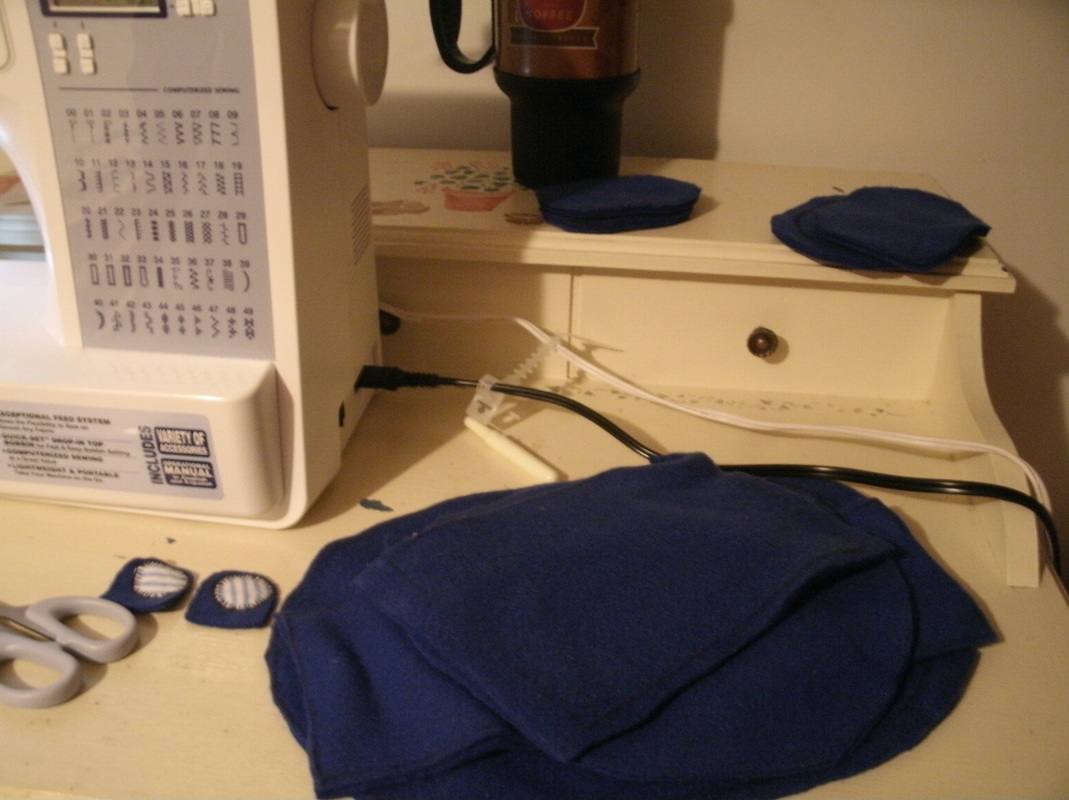
Quilting Fats:
Quilting Fats are pre-measured bundles
of assorted fabrics. You can find them
where ever quilting supplies can be
bought. For this project I purchased
fats styled for a girl and of similar colors.
~~~~~~~~~~~~~~~~~~~~~~~~~~~~
Quilting Fats are pre-measured bundles
of assorted fabrics. You can find them
where ever quilting supplies can be
bought. For this project I purchased
fats styled for a girl and of similar colors.
~~~~~~~~~~~~~~~~~~~~~~~~~~~~

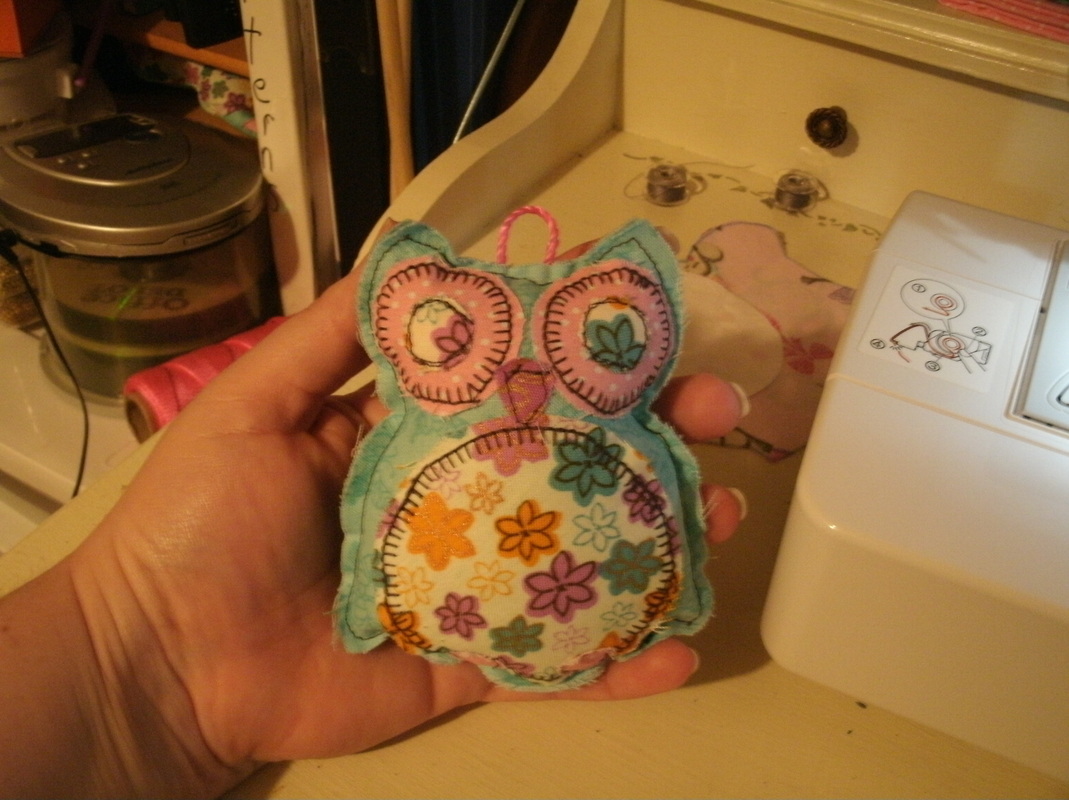
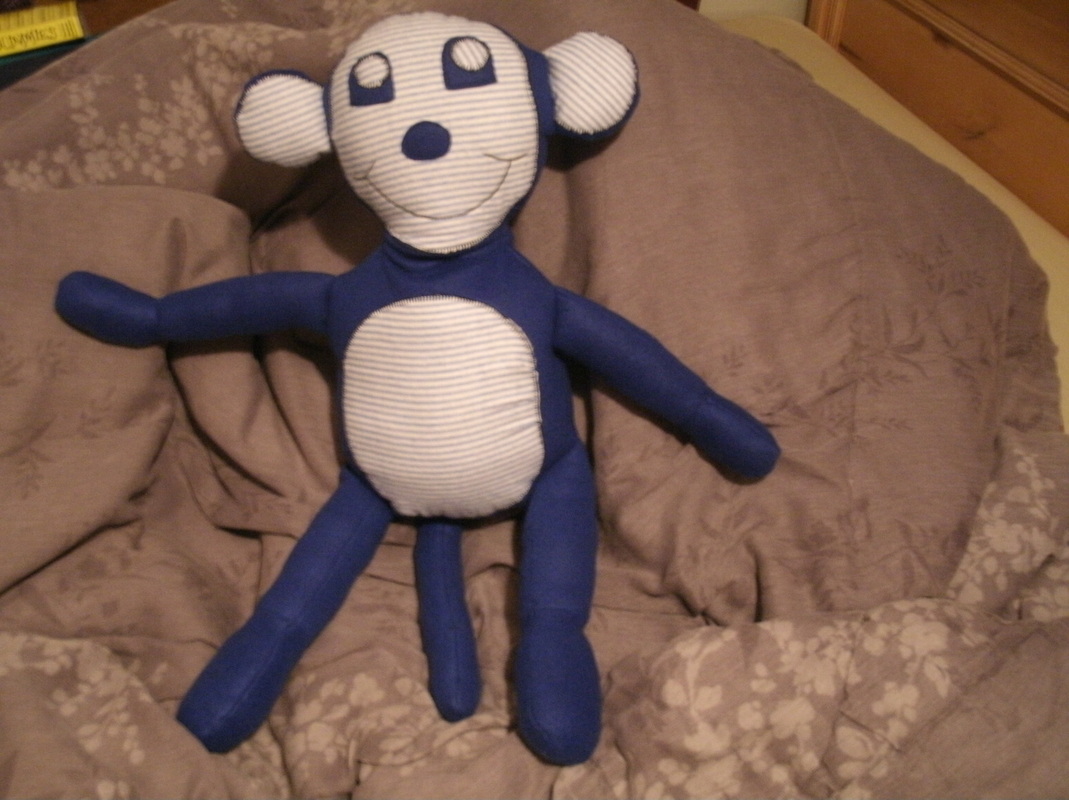
I wanted each dangler to have three
different fabrics so I found
complementary fabrics. The three main
colors are aqua, pink, and purple. Each
main color is backed up with fabrics in
the same color grouping but different patterns. The main color
is the body of the critter/dangler and the other two colors
are for the smaller bits on that dangler.
~~~~~~~~~~~~~~~~~~~~~~~~~~~~
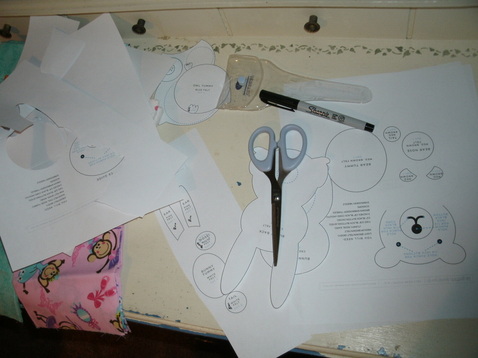
The pattern:
I found the pattern
I wanted to use for
the danglers at:
lia griffith's website
Her pattern is for
puppets. I used only
the shapes for my
danglers. I
changed the size,
fabric, faces, stitch style, and made them stuffed instead of
puppets. You can make the dangling pieces anything you want. I
wanted animal shapes and hearts mixed. I loved the clean,
simple lines of Lia's animals and thought I could make the
shapes work with a little personal touch.
Thank you to Lia for the use of her patterns and please
check out her site with the link beside the above picture!
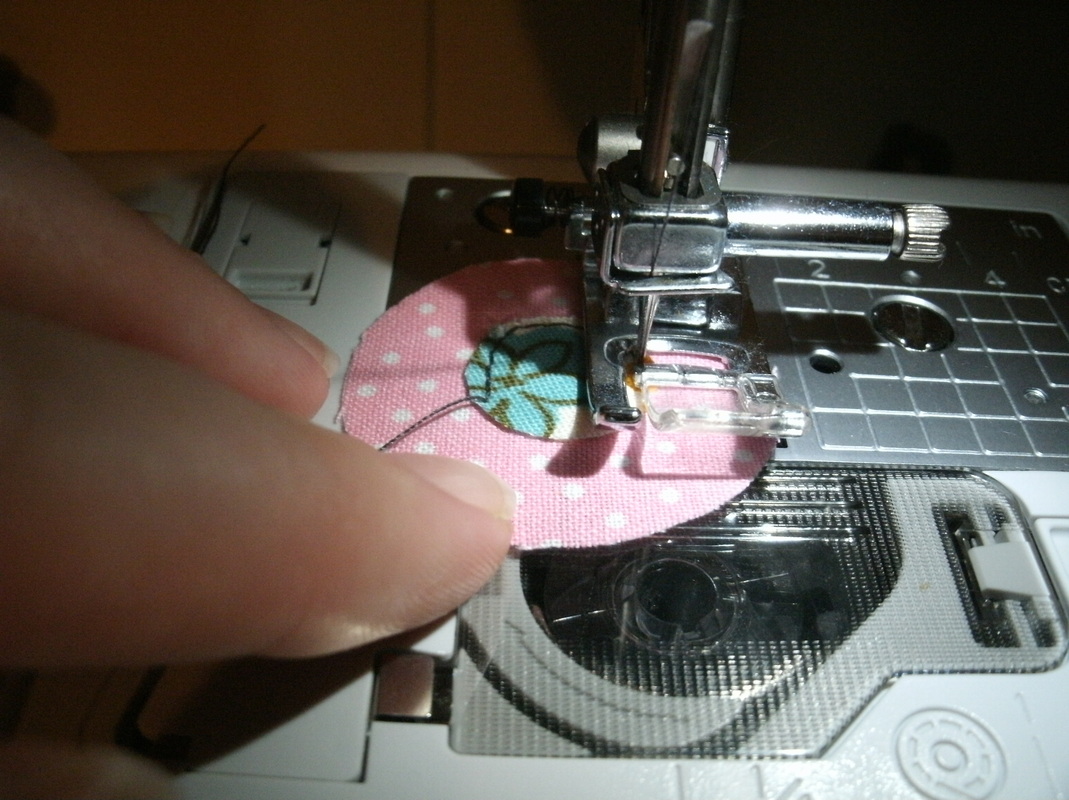
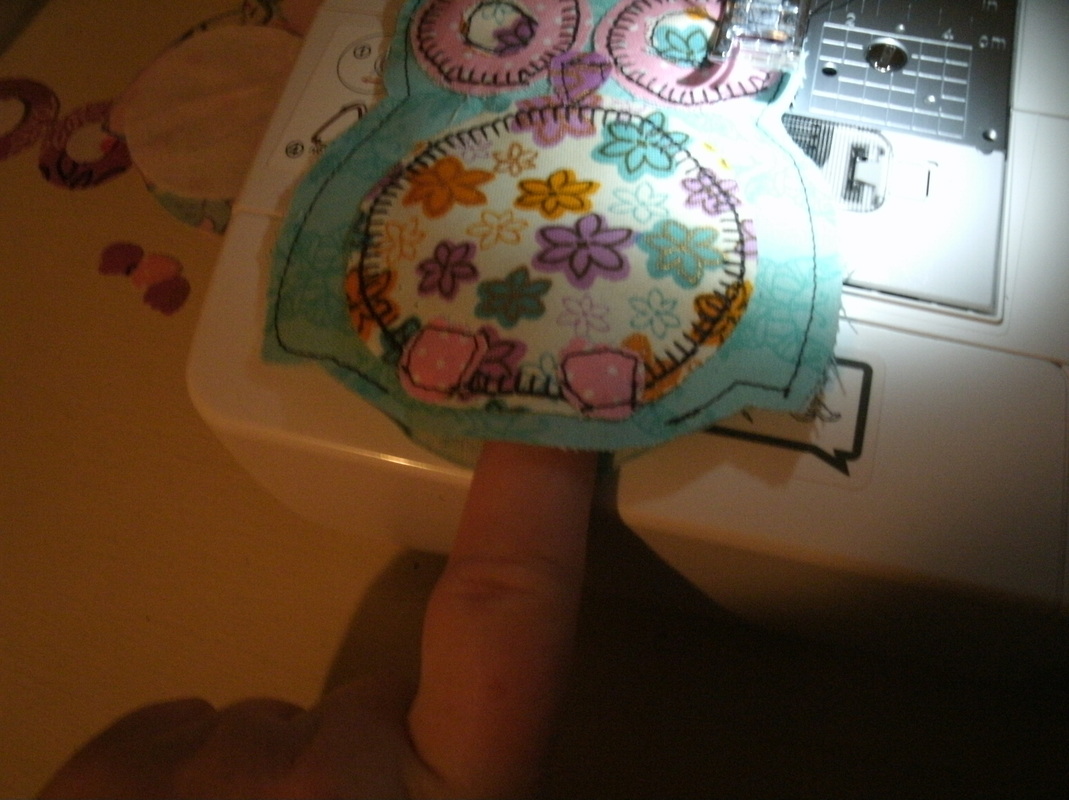
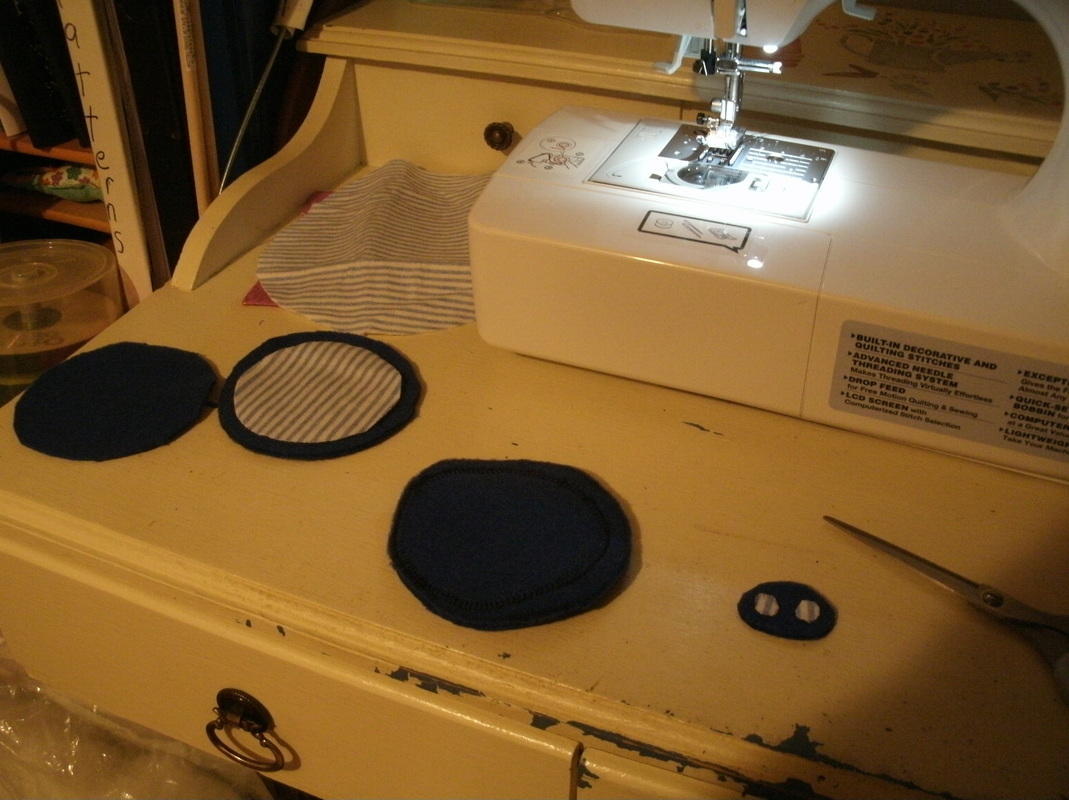
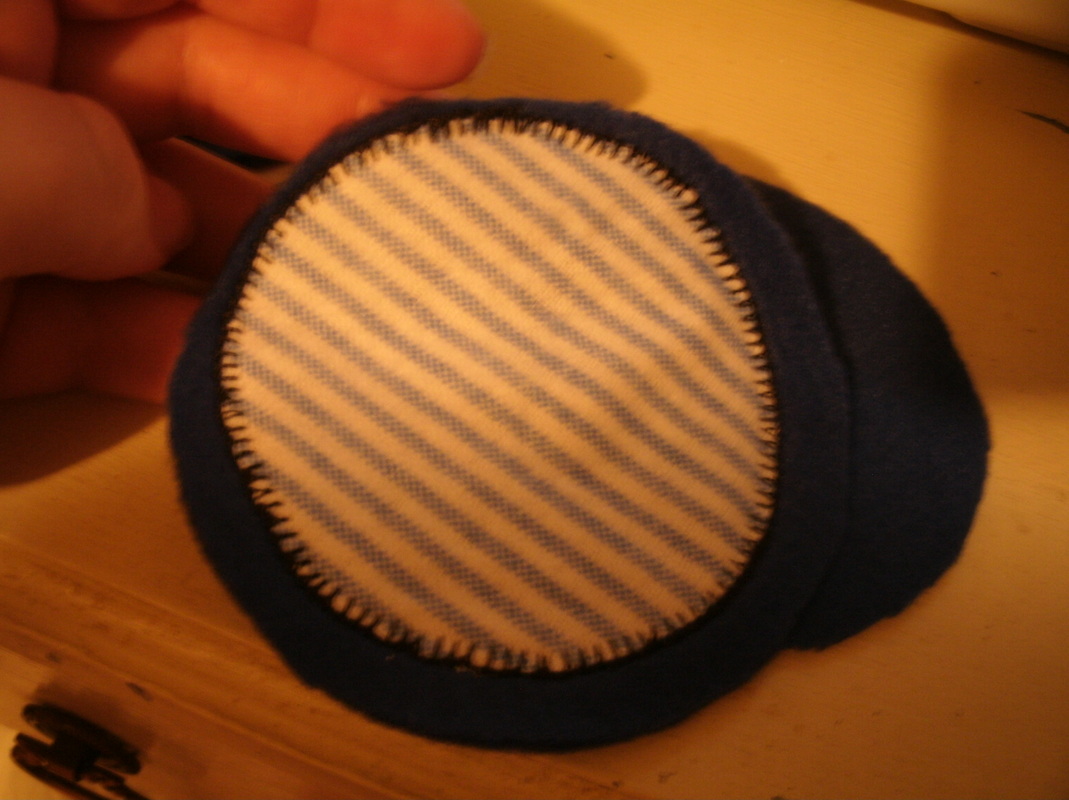
Cut out the pattern
and then the fabric in
those patterns.
I made the body one
fabric, the tummy
patch and inner eye
circles and beak
another fabric and the feet and outer eye another fabric.
That's why I chose three fabrics for each dangler.
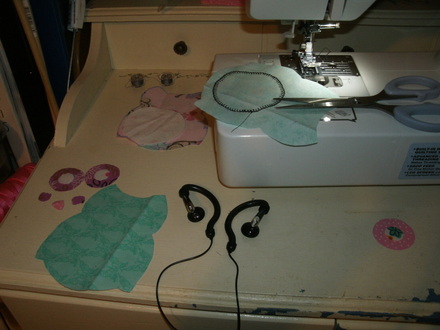
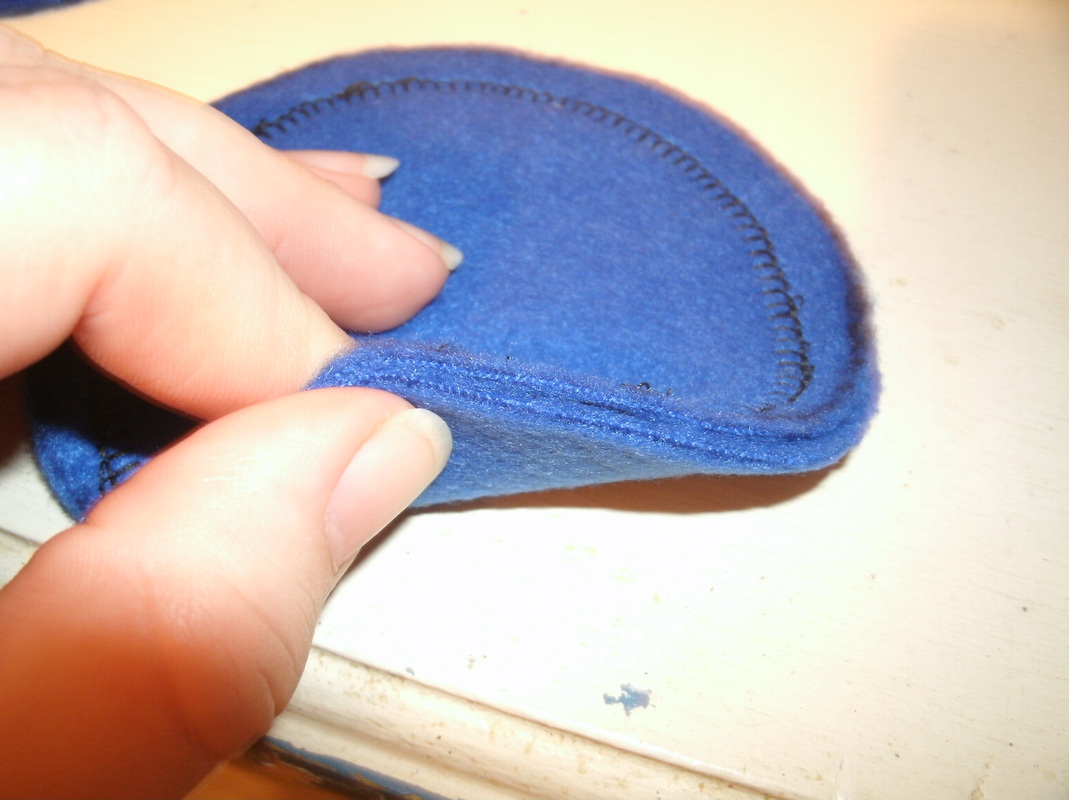
First, I sewed the tummy patch on the front body piece using
a secure but also decorative stitch then sew each of the other
pieces onto the front body piece. Then sew the back on to the
front with both right sides facing out, leaving a gap to stuff
it with.
and then the fabric in
those patterns.
I made the body one
fabric, the tummy
patch and inner eye
circles and beak
another fabric and the feet and outer eye another fabric.
That's why I chose three fabrics for each dangler.
First, I sewed the tummy patch on the front body piece using
a secure but also decorative stitch then sew each of the other
pieces onto the front body piece. Then sew the back on to the
front with both right sides facing out, leaving a gap to stuff
it with.

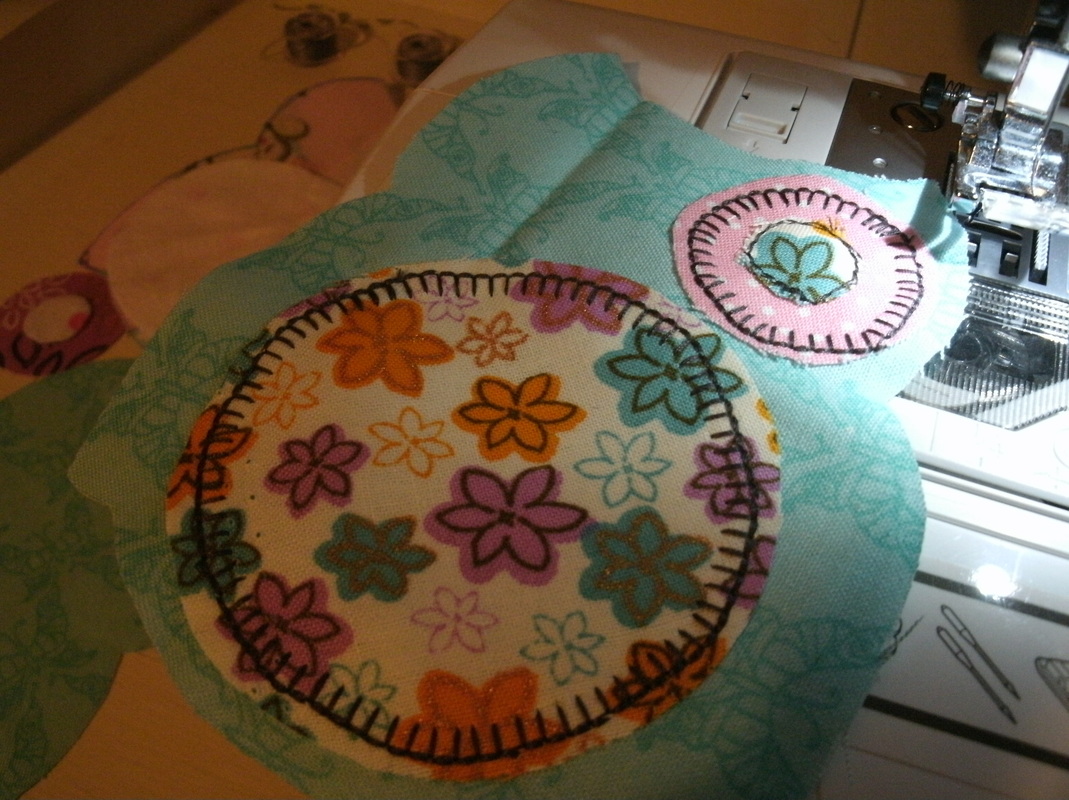


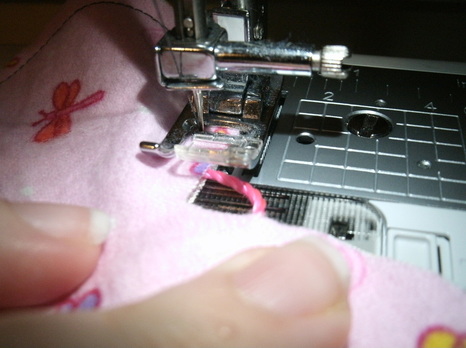
While sewing the body
together I attached
little bits of the
cording to use as
hook loops. I used
these to hang the
animals and hearts.
together I attached
little bits of the
cording to use as
hook loops. I used
these to hang the
animals and hearts.
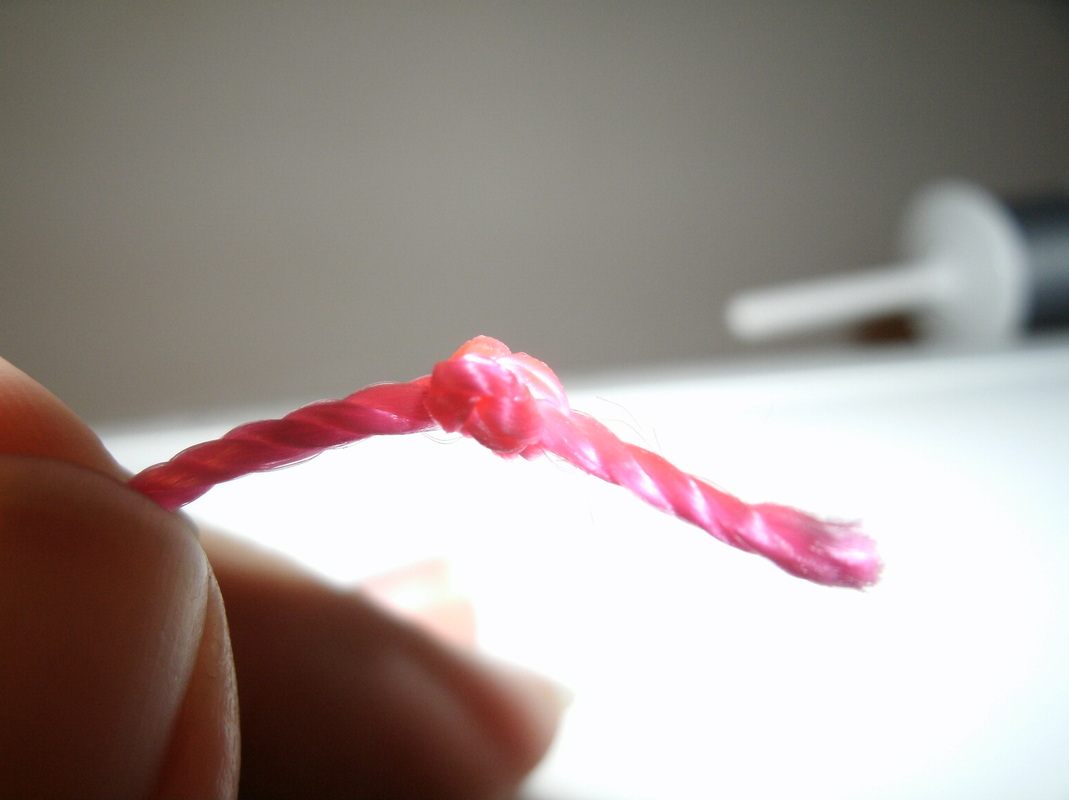
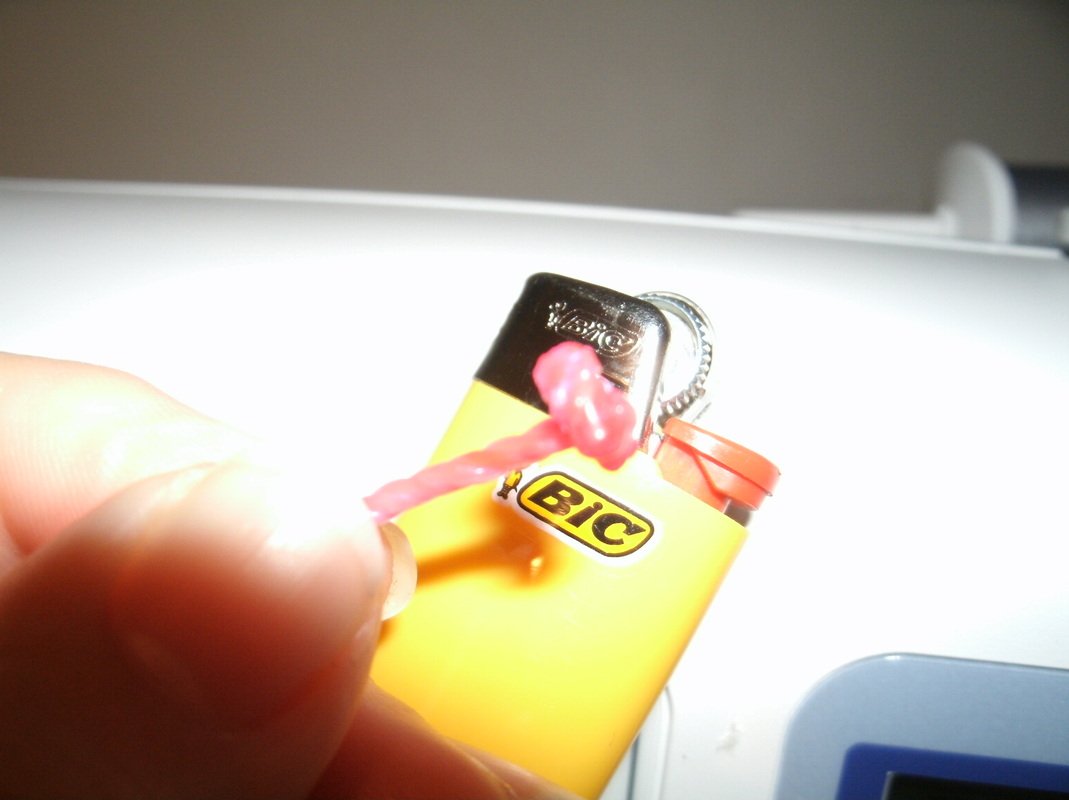

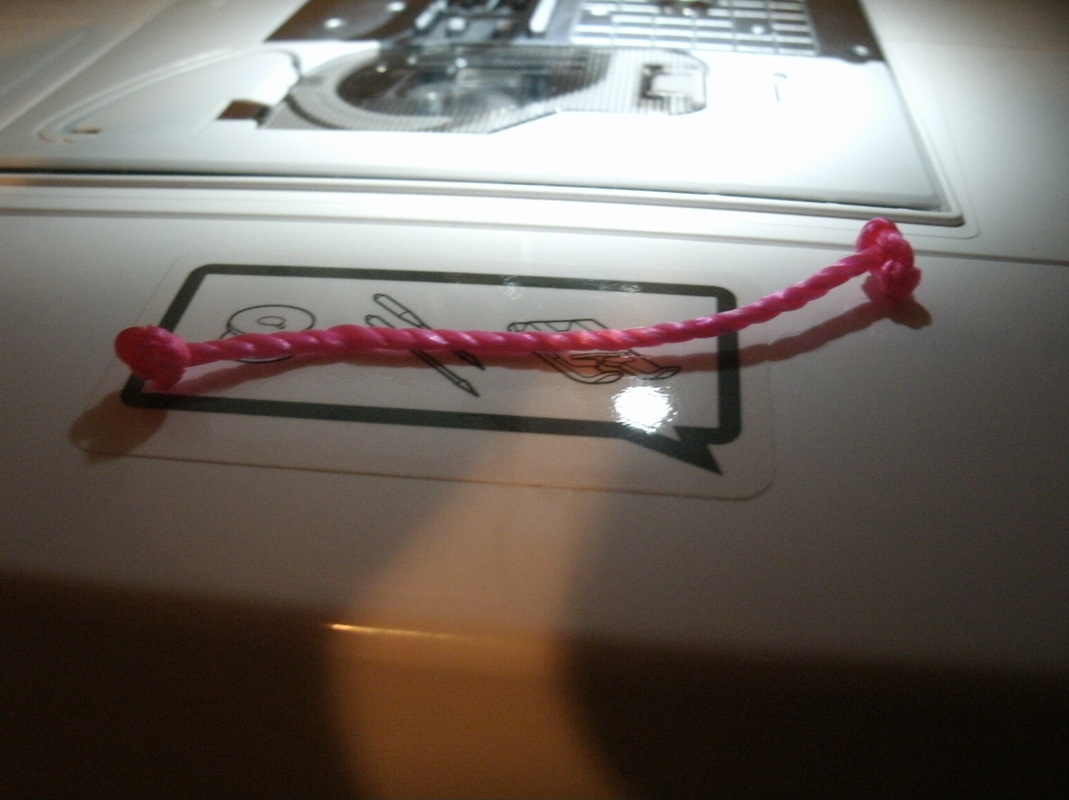
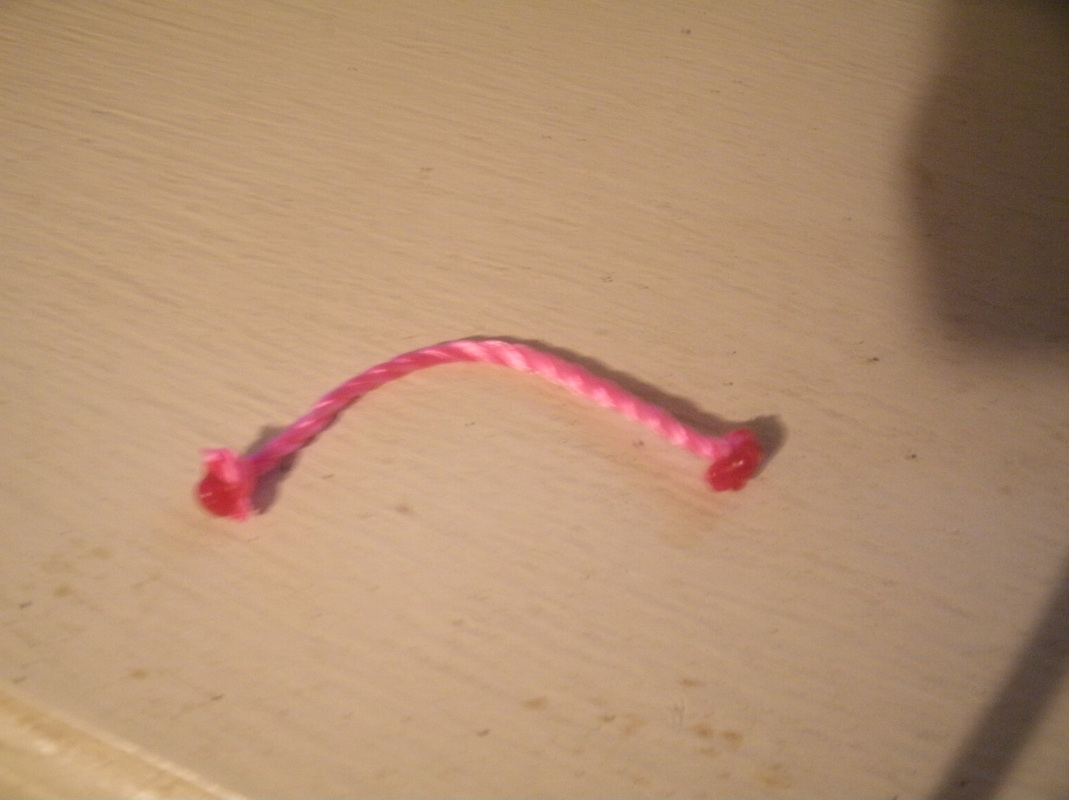
Making the hanging loops:
The cord I used has a wax coating that makes it hard to keep
a knot in. To lock in the knot you simply cut the length you
need put in your knots and then take the lighter and just light
the end.
NOTE!!!! The burning end can drip like candle wax and burns
worse! Be VERY careful not to touch the melting part when
doing this.
Watch very closely and blow out flame before it actually
touches the knot. It will continue to melt for a second and you
just want the melted part to just kiss the knot. The surface
of the knot that was just melted will melt a little and lock in
the knot turning into a plastic like piece.
If you get too close with the flame to the knot it's
self, it can easily burn through the top cording and break the
knot. If you don't get close enough then the top of the knot
won't melt and the knot will continue to slip out just as if
you hadn't burned it at all. It takes a little practice to get it
right, but I know you can do it!
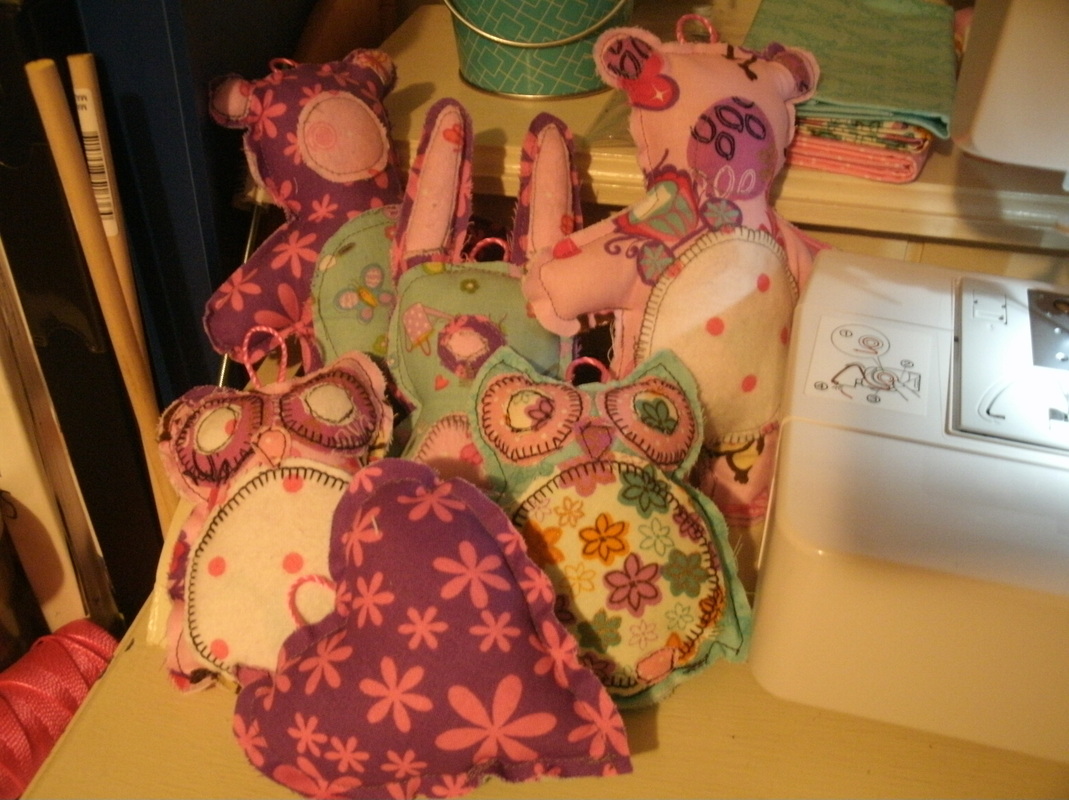
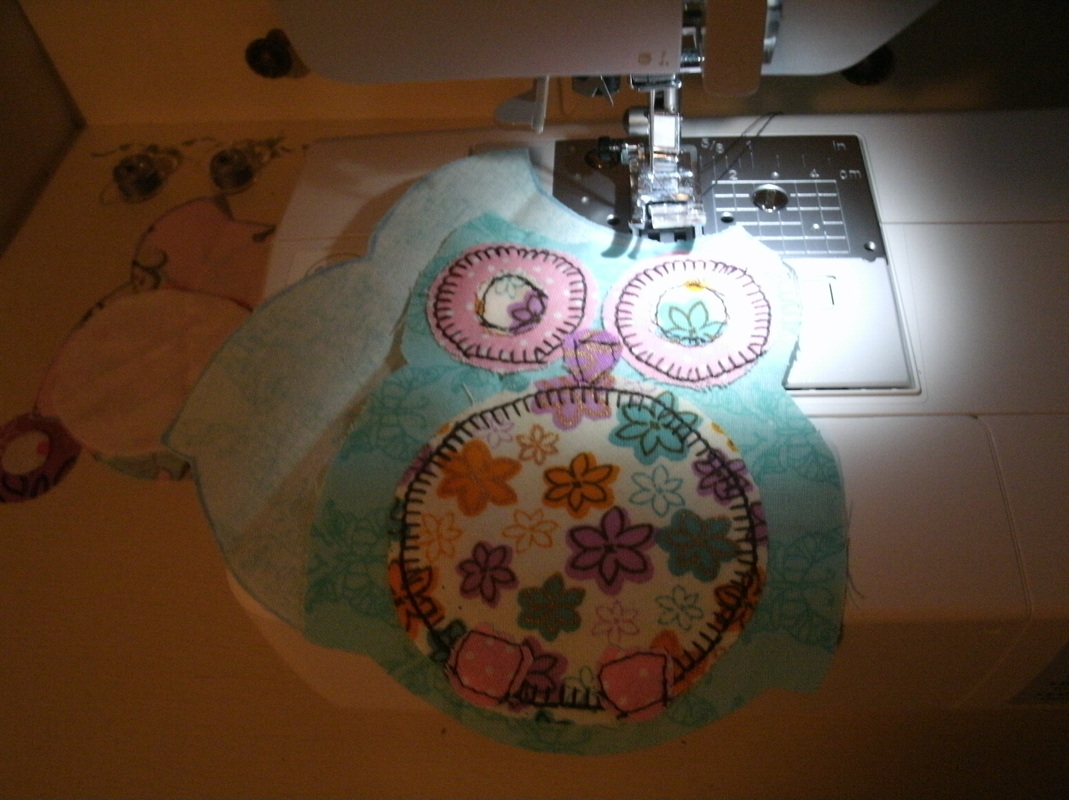
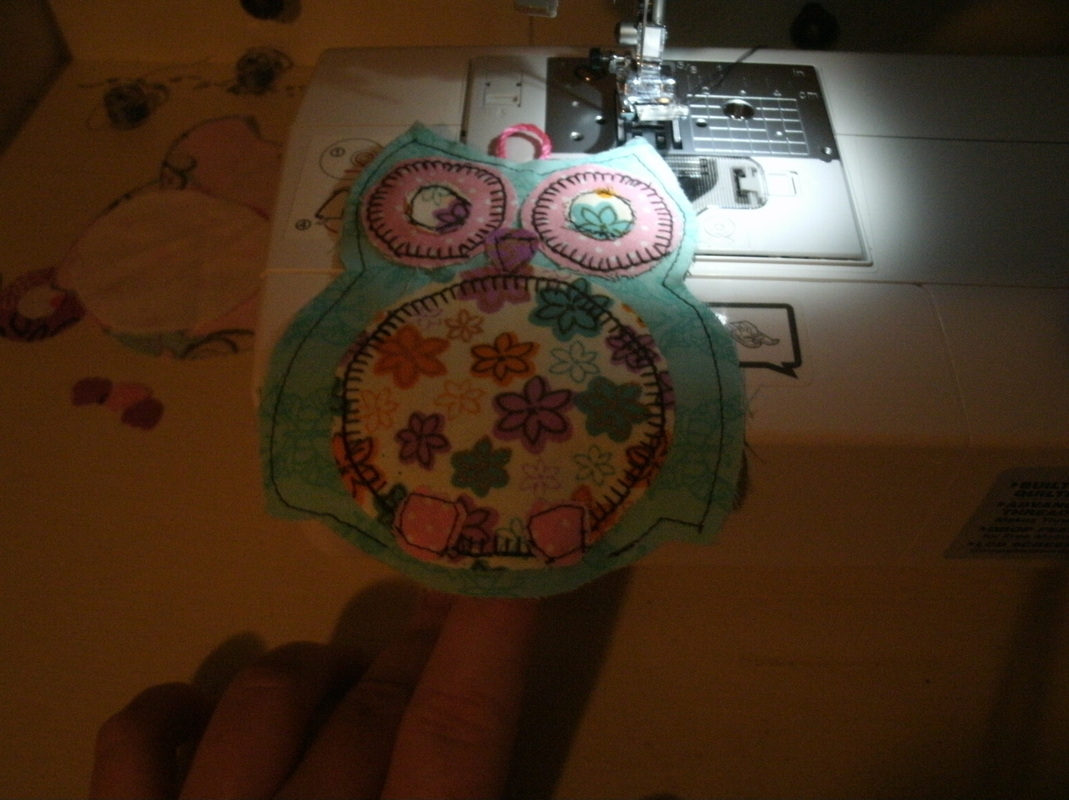
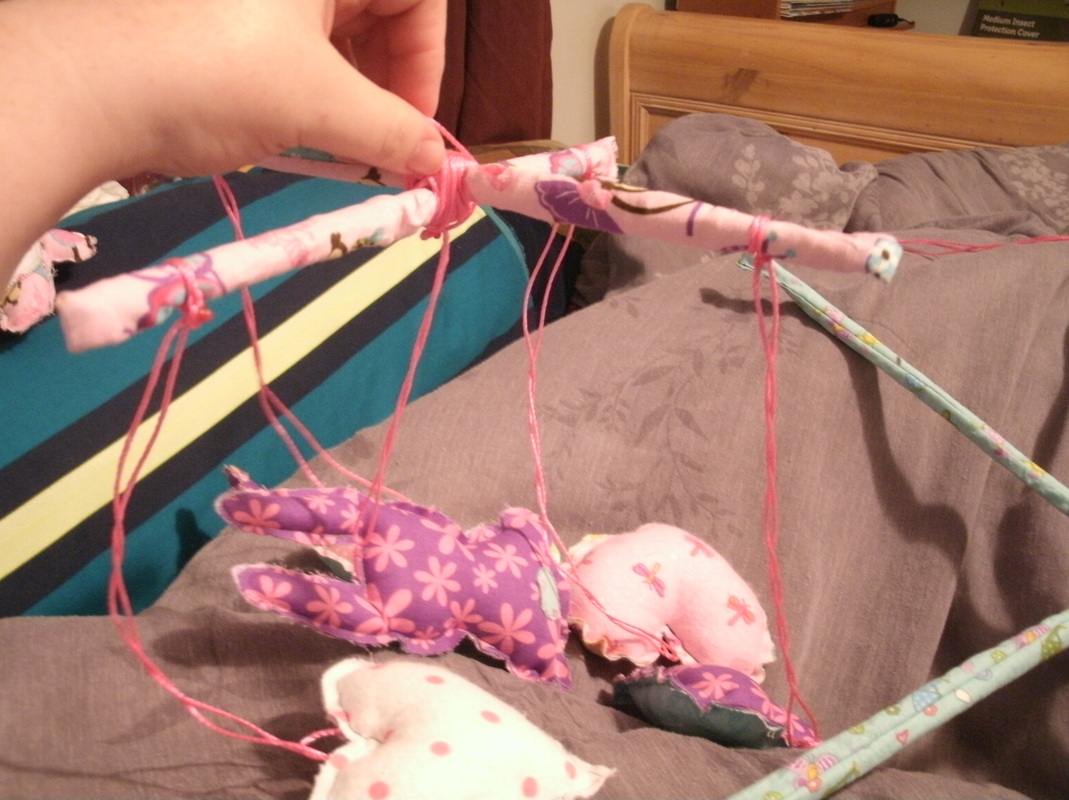
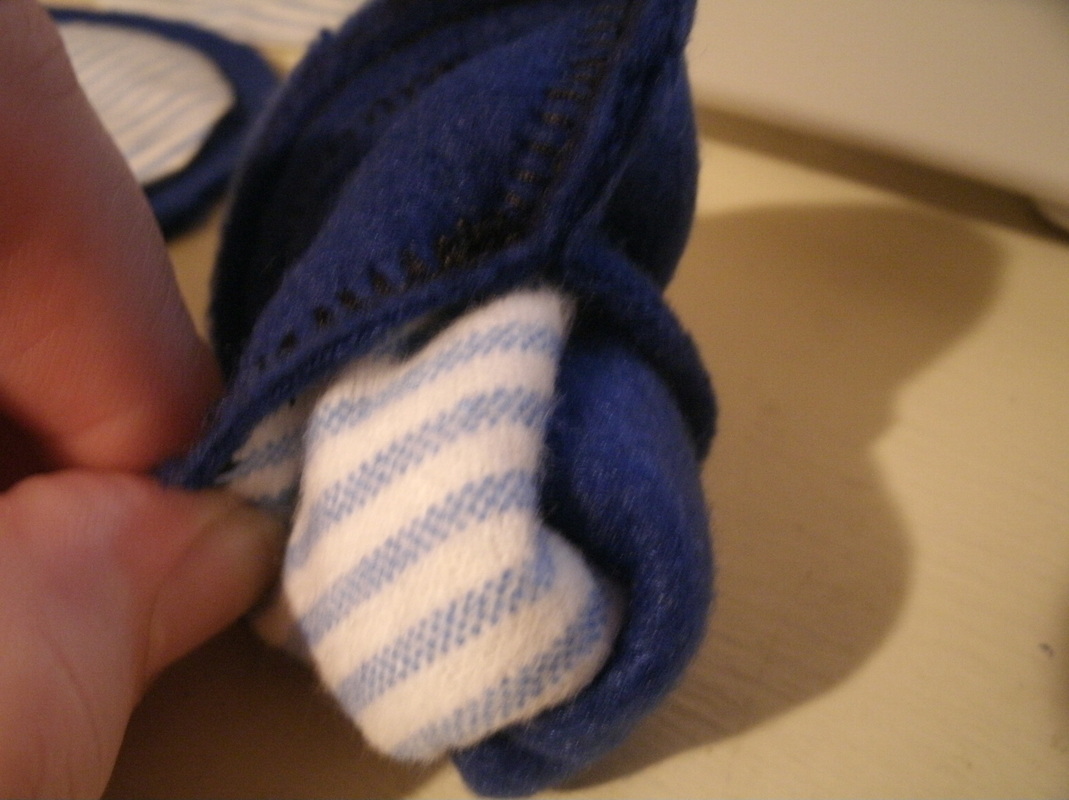
Stuff the critters and sew them closed. Continue to make the
rest. How many levels you put on your mobile, dictates how
many danglers you'll need to make. I wanted two bears and two
owls on one level. Then on a second level I wanted four
different hearts with a bunny in the center.
This makes for a large mobile but as it's hanging from the
ceiling and not the crib some over sizing is ok.

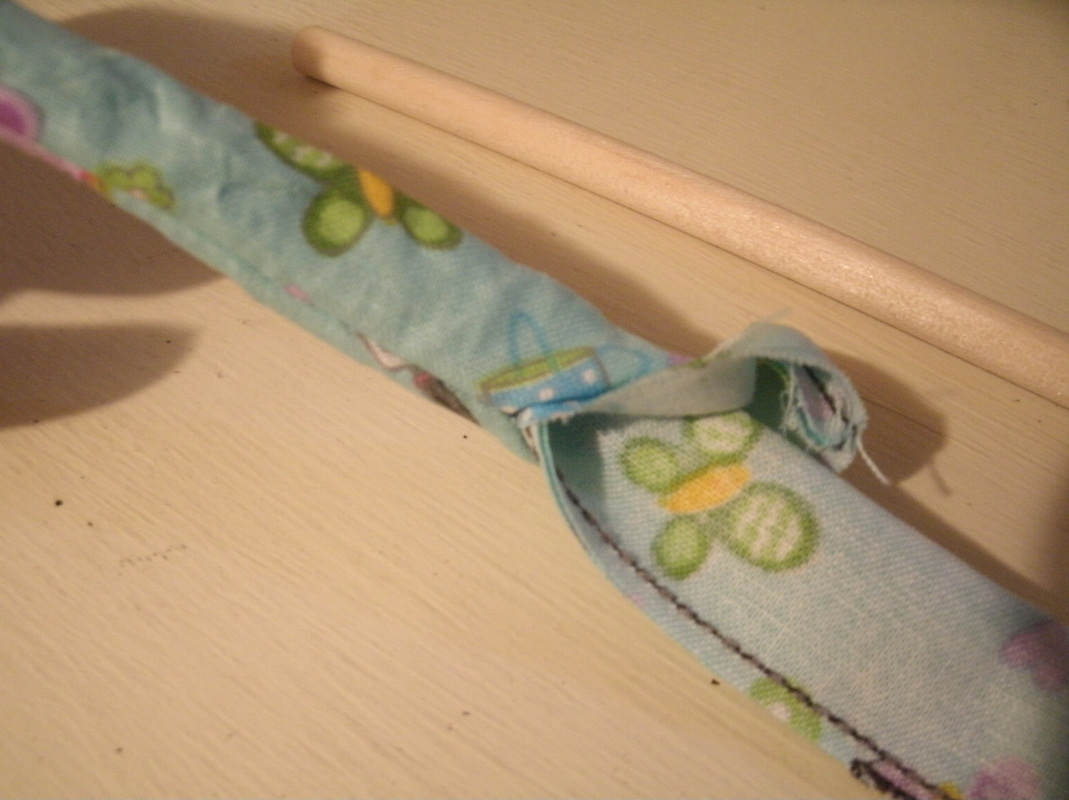

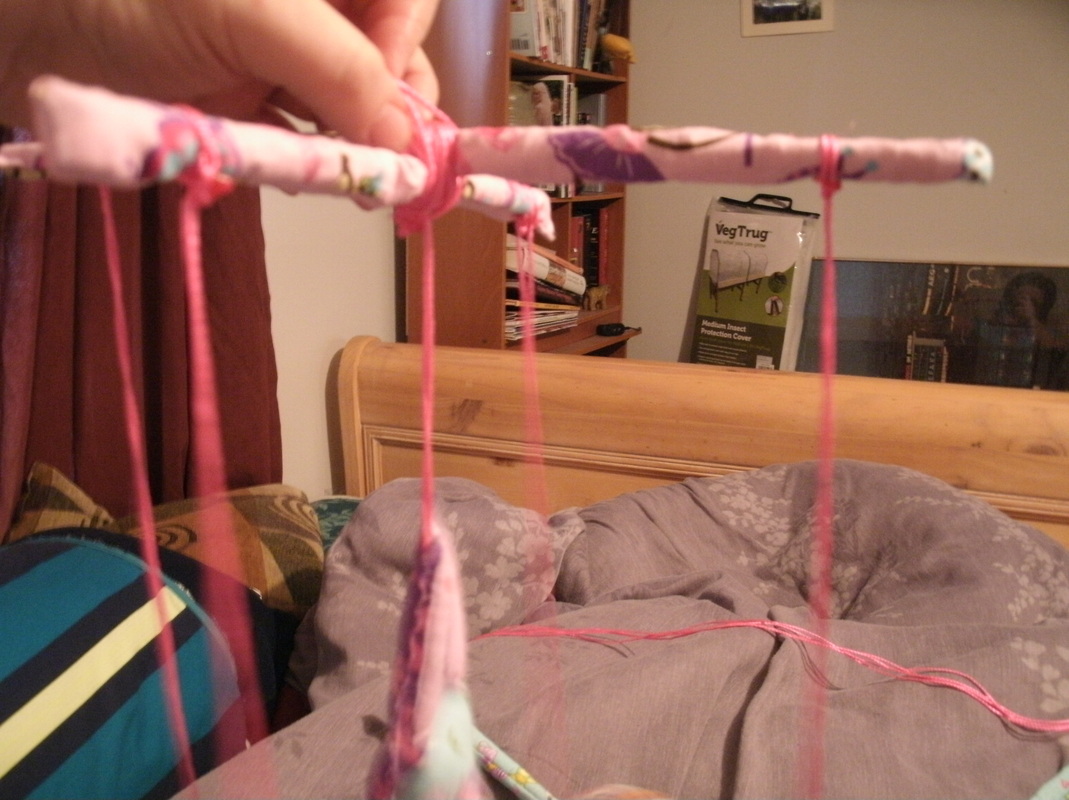
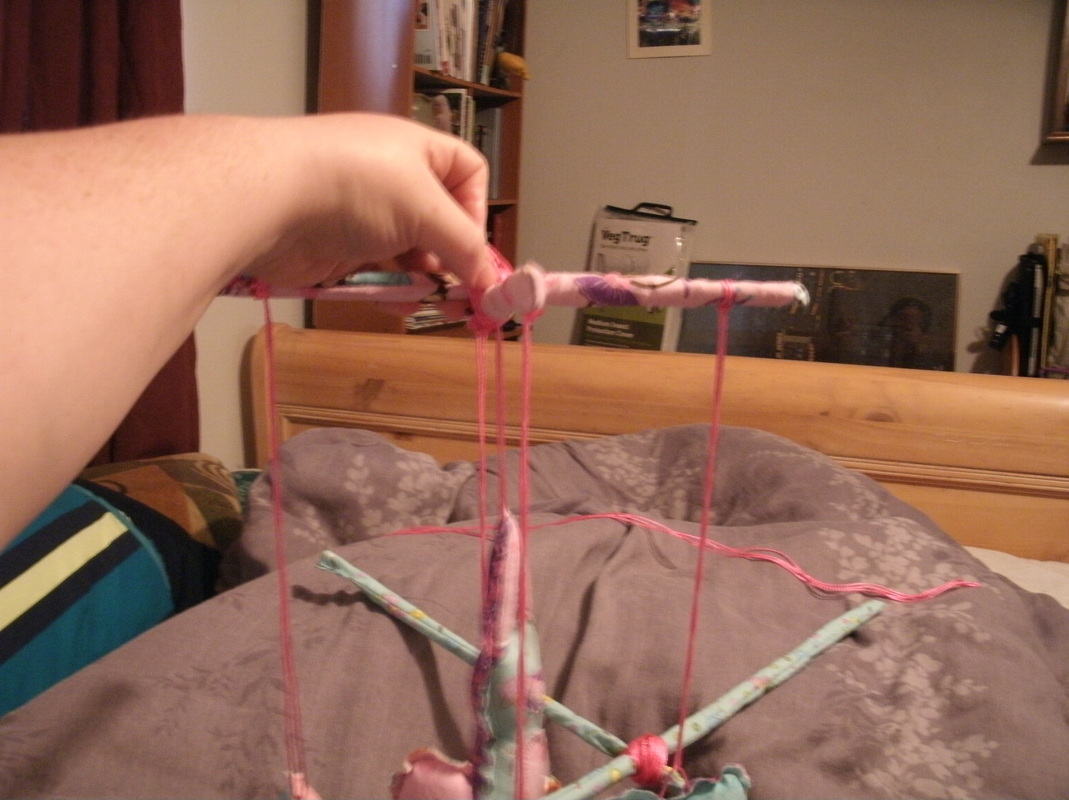
Cut the dowels to even lengths. If your making two levels then
you want the bottom one to be smaller so the dangles from
the top don't bump the dowels on the bottom.
So you should have two longer dowels for the top and two
smaller for the lower, if your doing two levels.
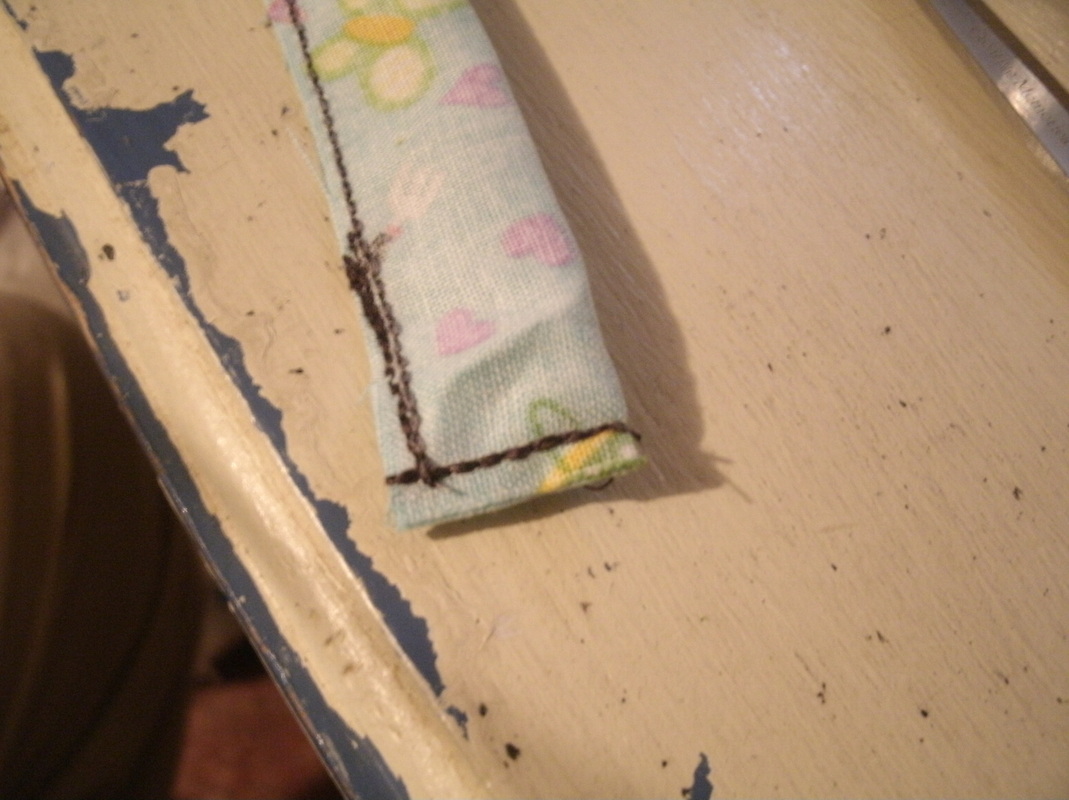
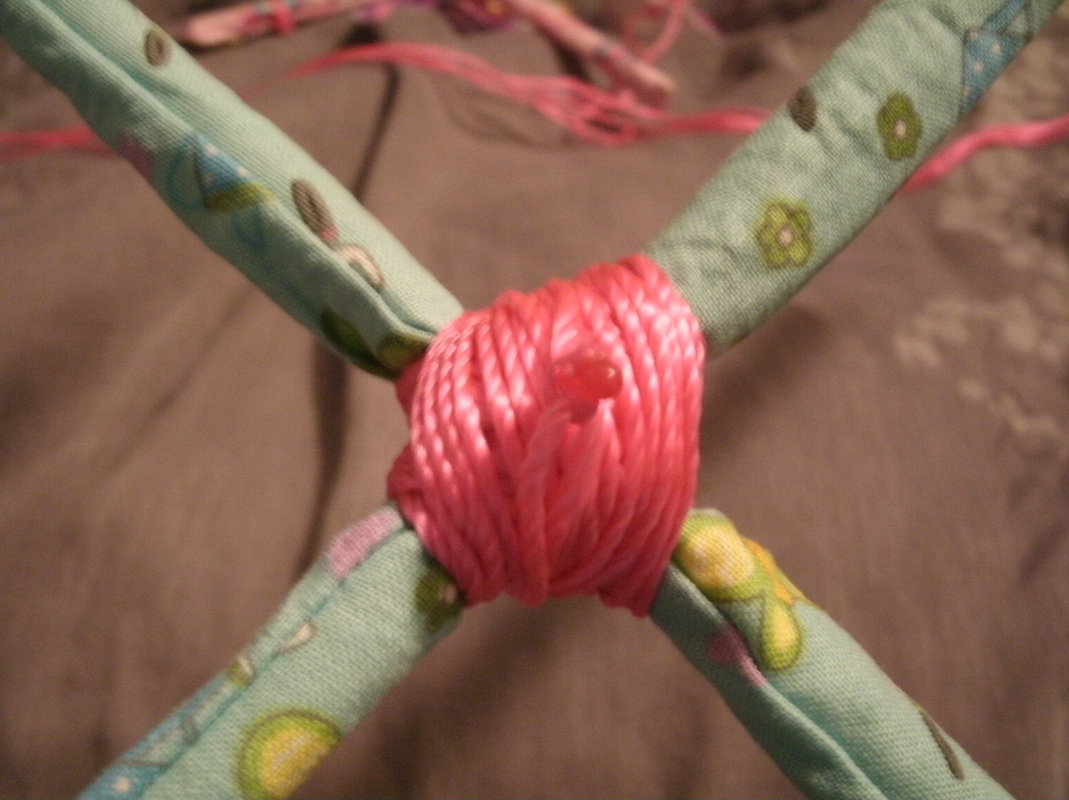
Sew covers for the dowels from left over fabric and then
knot each 'X' of two crossed dowels together very tightly and
securely. Make a loop to attach a cord to tie one level to the
other and to tie on the cord to secure the mobile to the
ceiling hook.
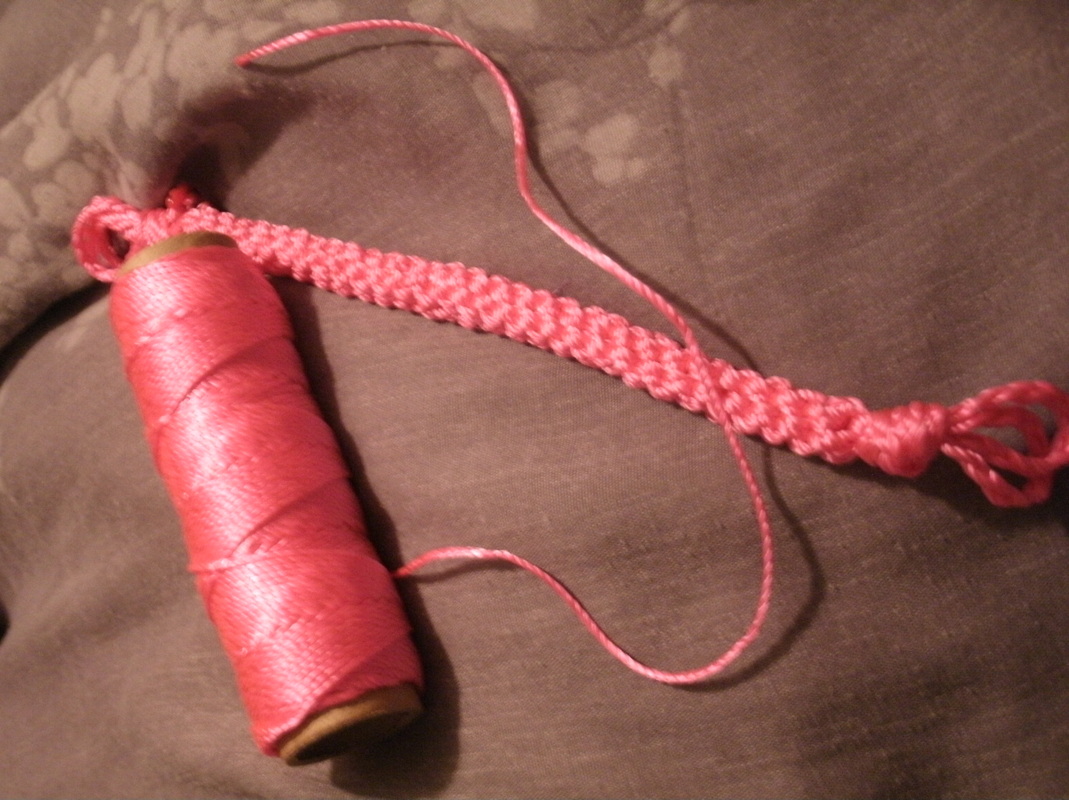
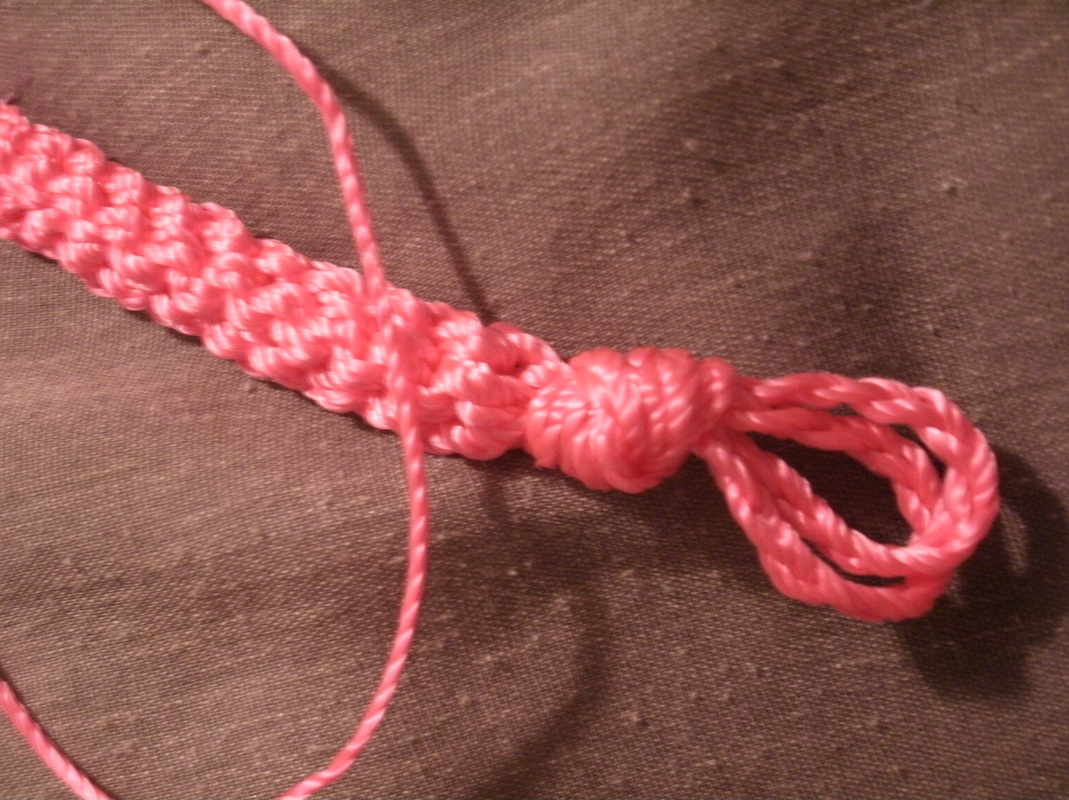
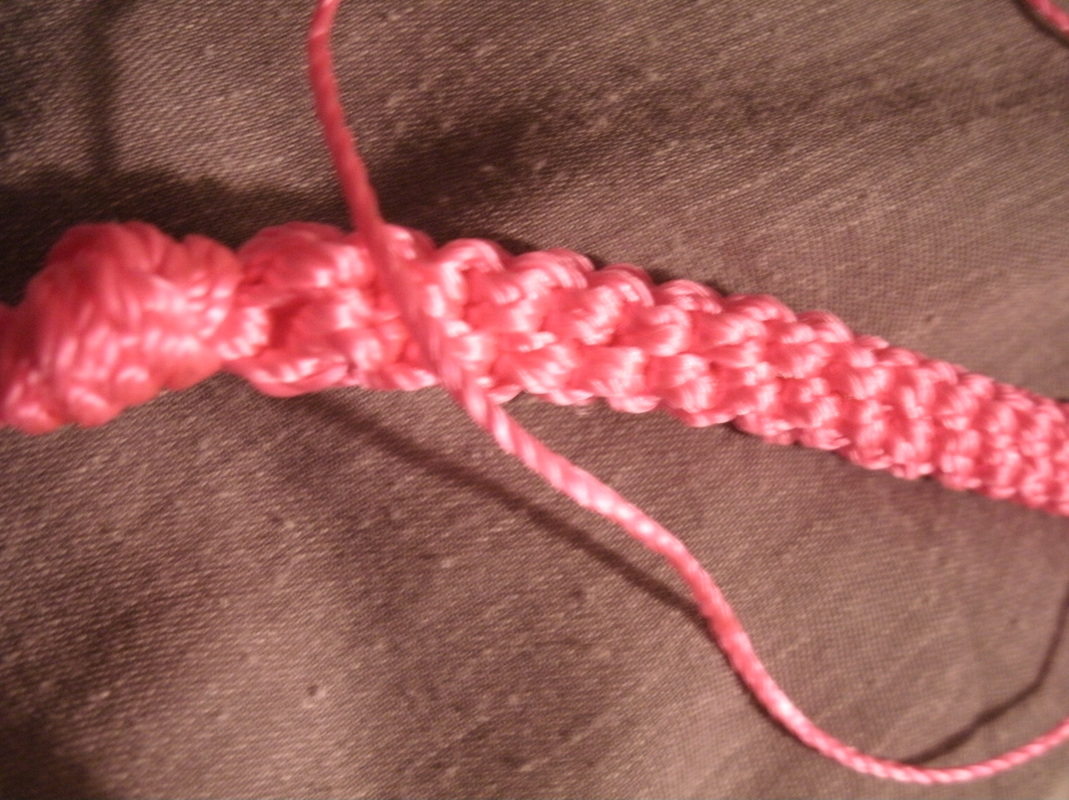
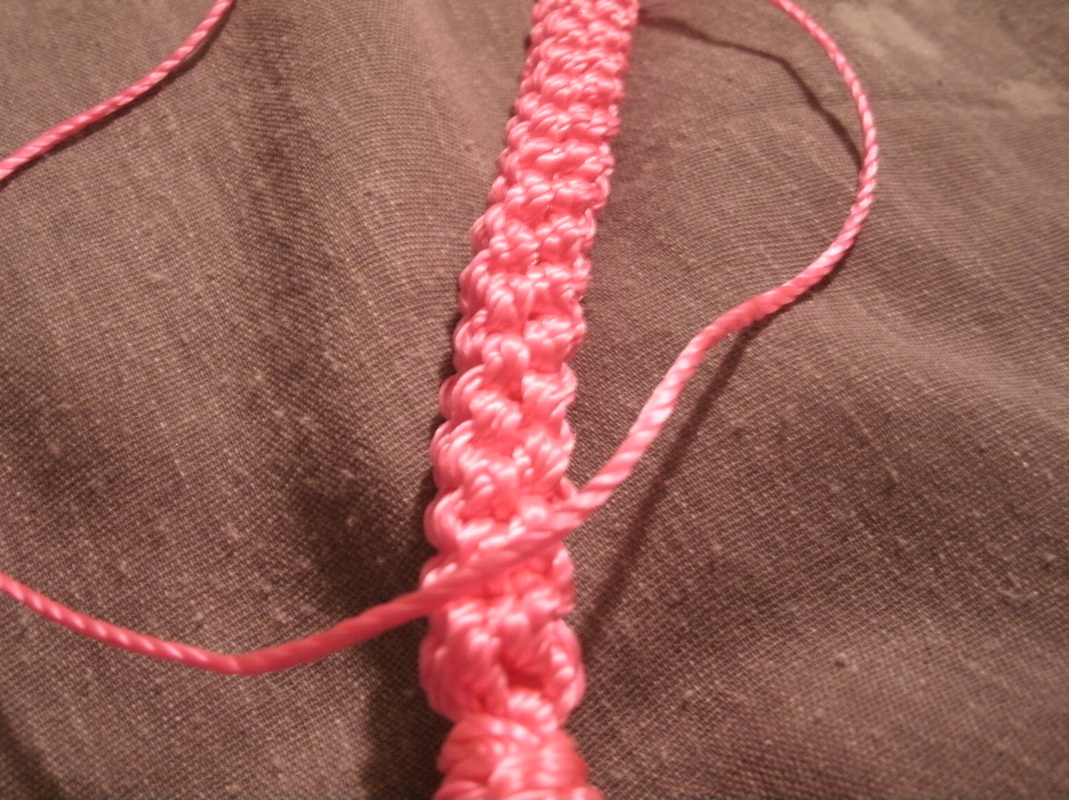
To make the cording joining the two levels just a little
prettier I did a little macramé. I made a loop at each end to
attach it to each level, but made the one from the top to the
ceiling hook a simple braid so it would be easy to secure.
I will show how to do the macramé in a future post.

There you go you just made a baby mobile!! You may have to
play with the knots and hanging cords a little to find the
proper balance to keep one or both levels from tilting to one
side or the other. If you tied the dowels properly in the
center and balance how much stuffing you put in the danglers
then balancing the levels should be as easy as adjusting a knot
or cord.
 RSS Feed