Feel Better Monkey
Hi there! Welcome to the Crow's Creatives Blog! I'm Crow.
This is the first blog post, for those who have peeked in since
I created this website and blog and found nothing for the last
few months, I apologize.
Unfortunately right as I created the Crow's Creatives website
many things happened in my personal and work life and then
to top it off we had major family health issues to deal with,
so, as much as I wanted to get this website and blog going it
had to take a backseat. I beg humbly for your forgiveness and
hope now that things have settled somewhat that you'll come
along for the ride with me and share this site and blog with
friends and family.
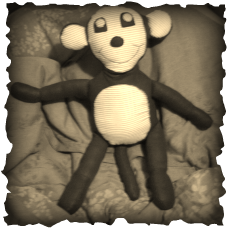
So! That said, let's get to the first blog posting. Let me
introduce you to "The Feel Better Monkey".
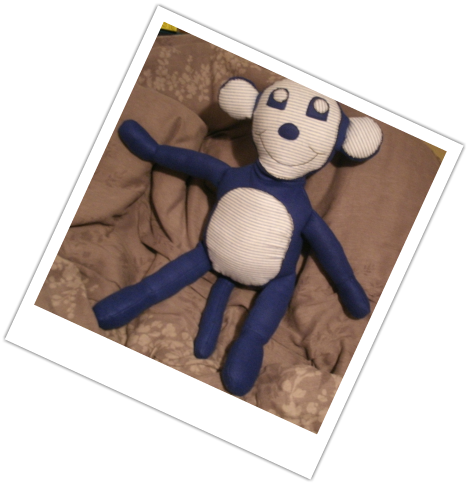
I made Monkey from scratch for a co-worker's son. He came
out pretty good since he was my first ever 'make my own'
pattern.
Here's how I made him;
First I went to my local Jo-Ann Fabrics and searched the
remnants bin for fabrics and colors I thought a little boy
might like. I settled for a nice blue felt with a really soft blue
and white ticking.
Once I had the fabric and thread and basics together I
wandered around the house with A1 sized pieces of cardboard
and used common household items to rough out a pattern for
each piece of the monkey.
Bowl for head, double bowl for body, cup for ears, measure
spoon for hands and feet, and for outer eyes, inner eyes made
with baking extract bottle, nose with half measure spoon
trimmed around edges, and a cereal bowl for the tummy
patch. The arms and legs and tail I just used a ruler to rough
out the lines. Knew I wanted the legs slightly wider thank the
arms and the tail longer than both.
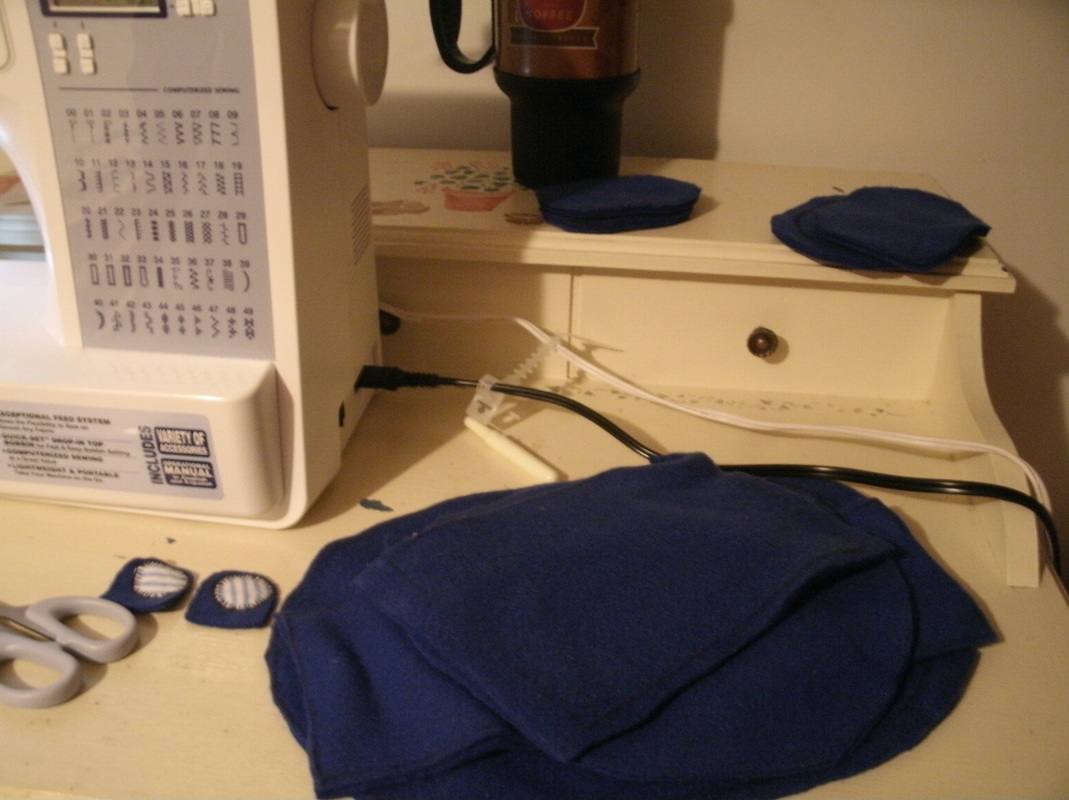
Then all the fabric cutting comes into play. Once everything is
cut out I started to piece it together and started sewing.
Keep in mind that I am not using pins, as I haven't got any yet, I
am still slowly building up my new sewing supplies. For nice even
piecing and an easier time sewing together use pins.
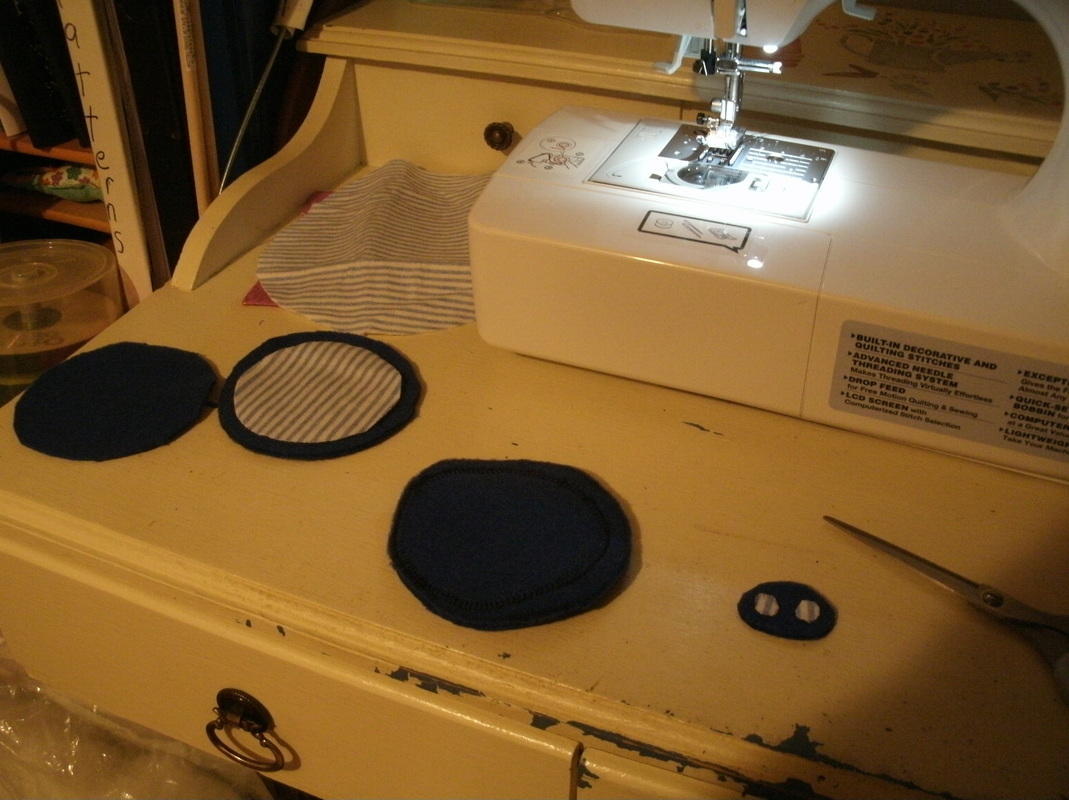
I match up the ticking pieces with the felt for inner and outer
ear.
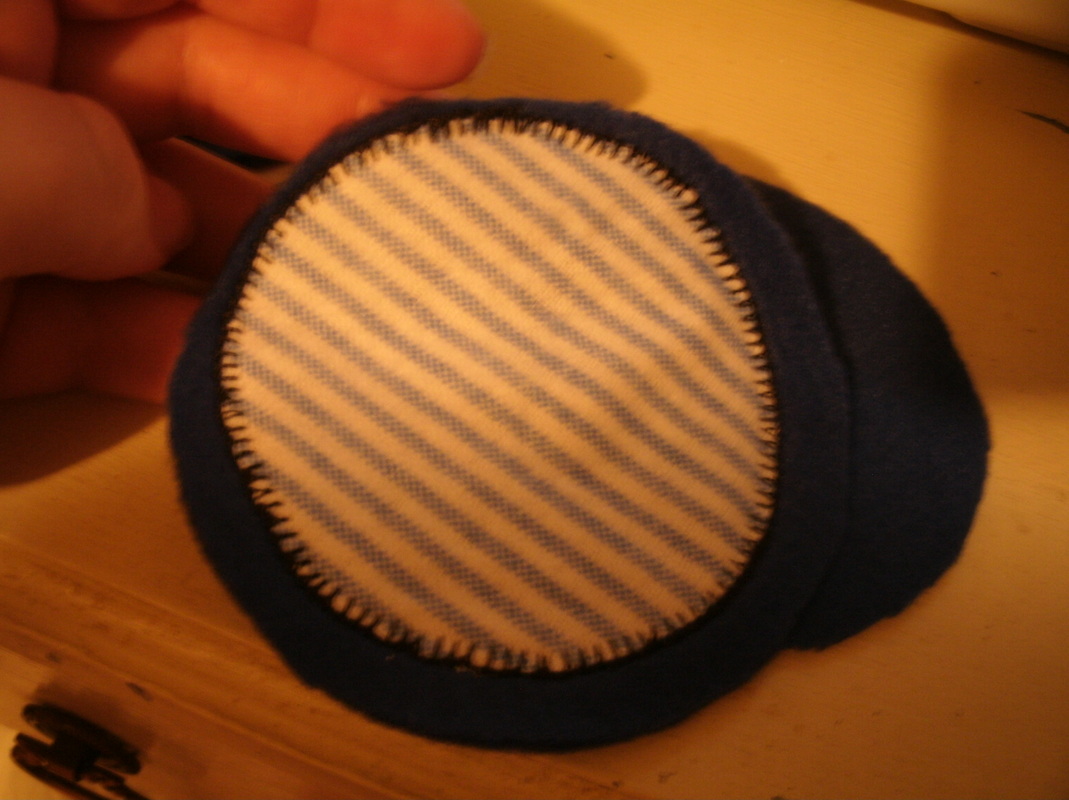
Sew the ticking onto the right side of the felt using a fancy
but strong stich. When doing the face part, I took a moment to
sew a smile onto Monkey's face as I attached the eyes and nose
on to the ticking face patch after sewing it onto the felt.
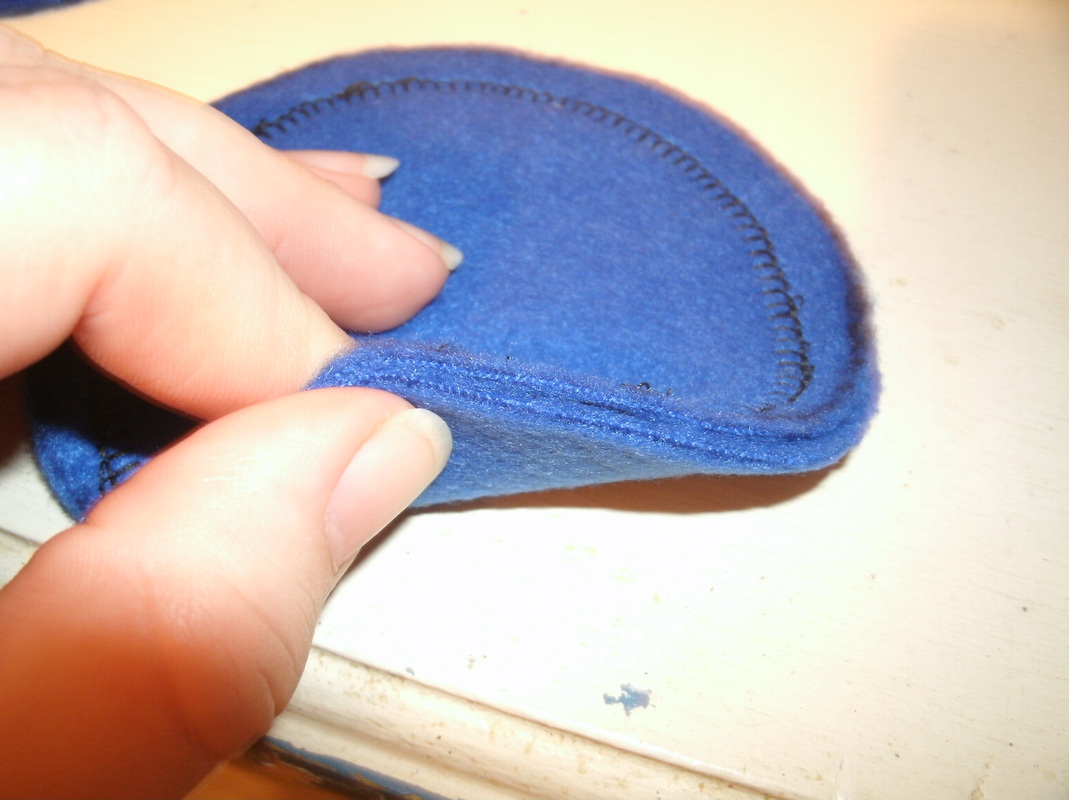
Place the right side together and sew around the piece leaving
space to turn the fabric out and stuff it with.
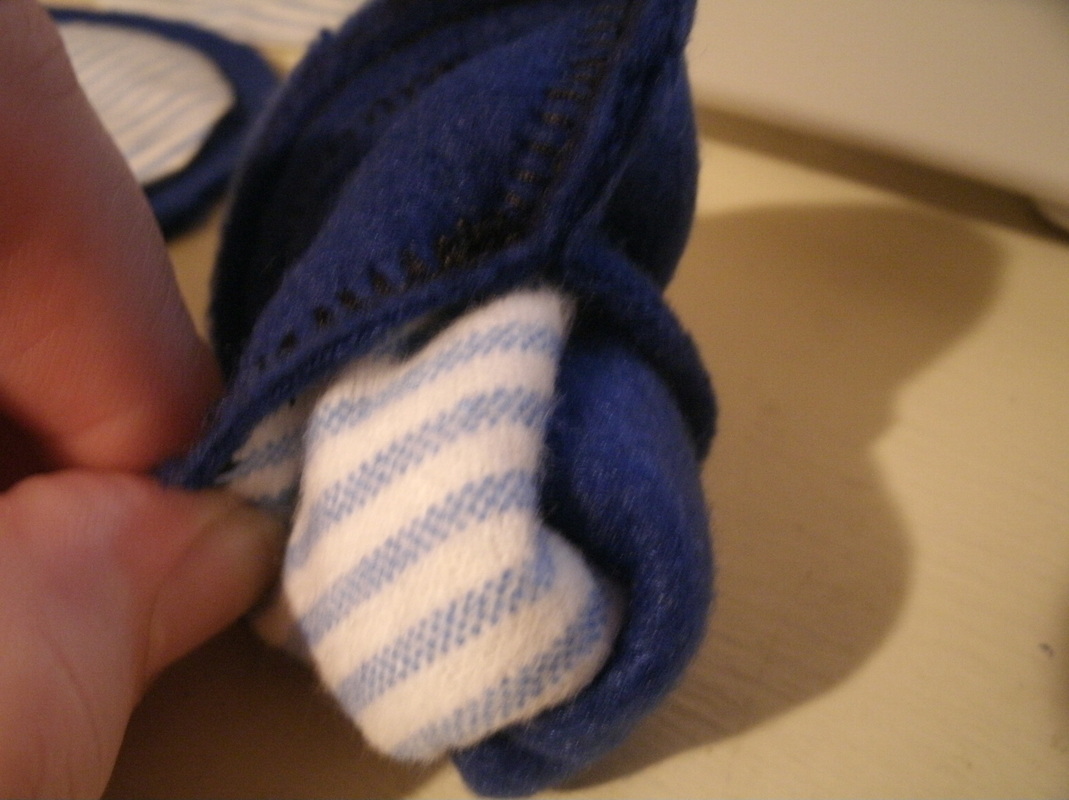
Turn each piece right side out after putting together and
stuff and attach with corresponding piece. (As you attach
head piece add ears in proper spaces. Attach head to body,
arms to body and finally cut whole in butt attach tail and sew
firmly in place.)
Once all main pieces are sewn on properly and stuffed the
only open section you should have is between the legs for
stuffing the main body and then you close that up.
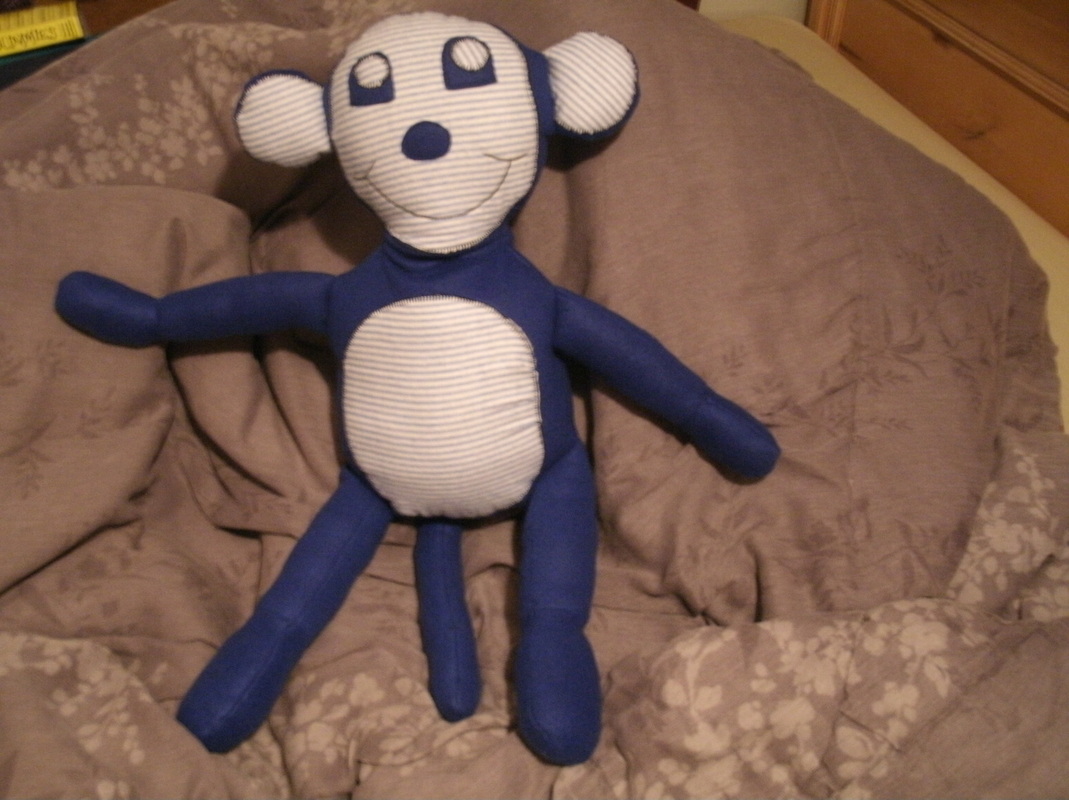
Once finished, you should end up with a Monkey shaped
stuffy.
I do have copies of the pattern I made on a flash drive. I will
attach it later once I find the proper flash drive.
Jackson , the little boy I gifted this monkey to, dubbed him
the Feel Better Monkey. His Grandmom wasn't feeling well and
he thought she needed to cuddle with the "Feel Better
Monkey".
Who am I to argue with perfection. He loves his monkey, that's
all I need to know.
I do apologize for not having photos of each and every step
like I planned. I kept forgetting to take photos. I was very
focused on the sewing. If I should remake a Monkey again I will
be more detailed with the camera.
I hope you like my first post and come back for more!
 RSS Feed